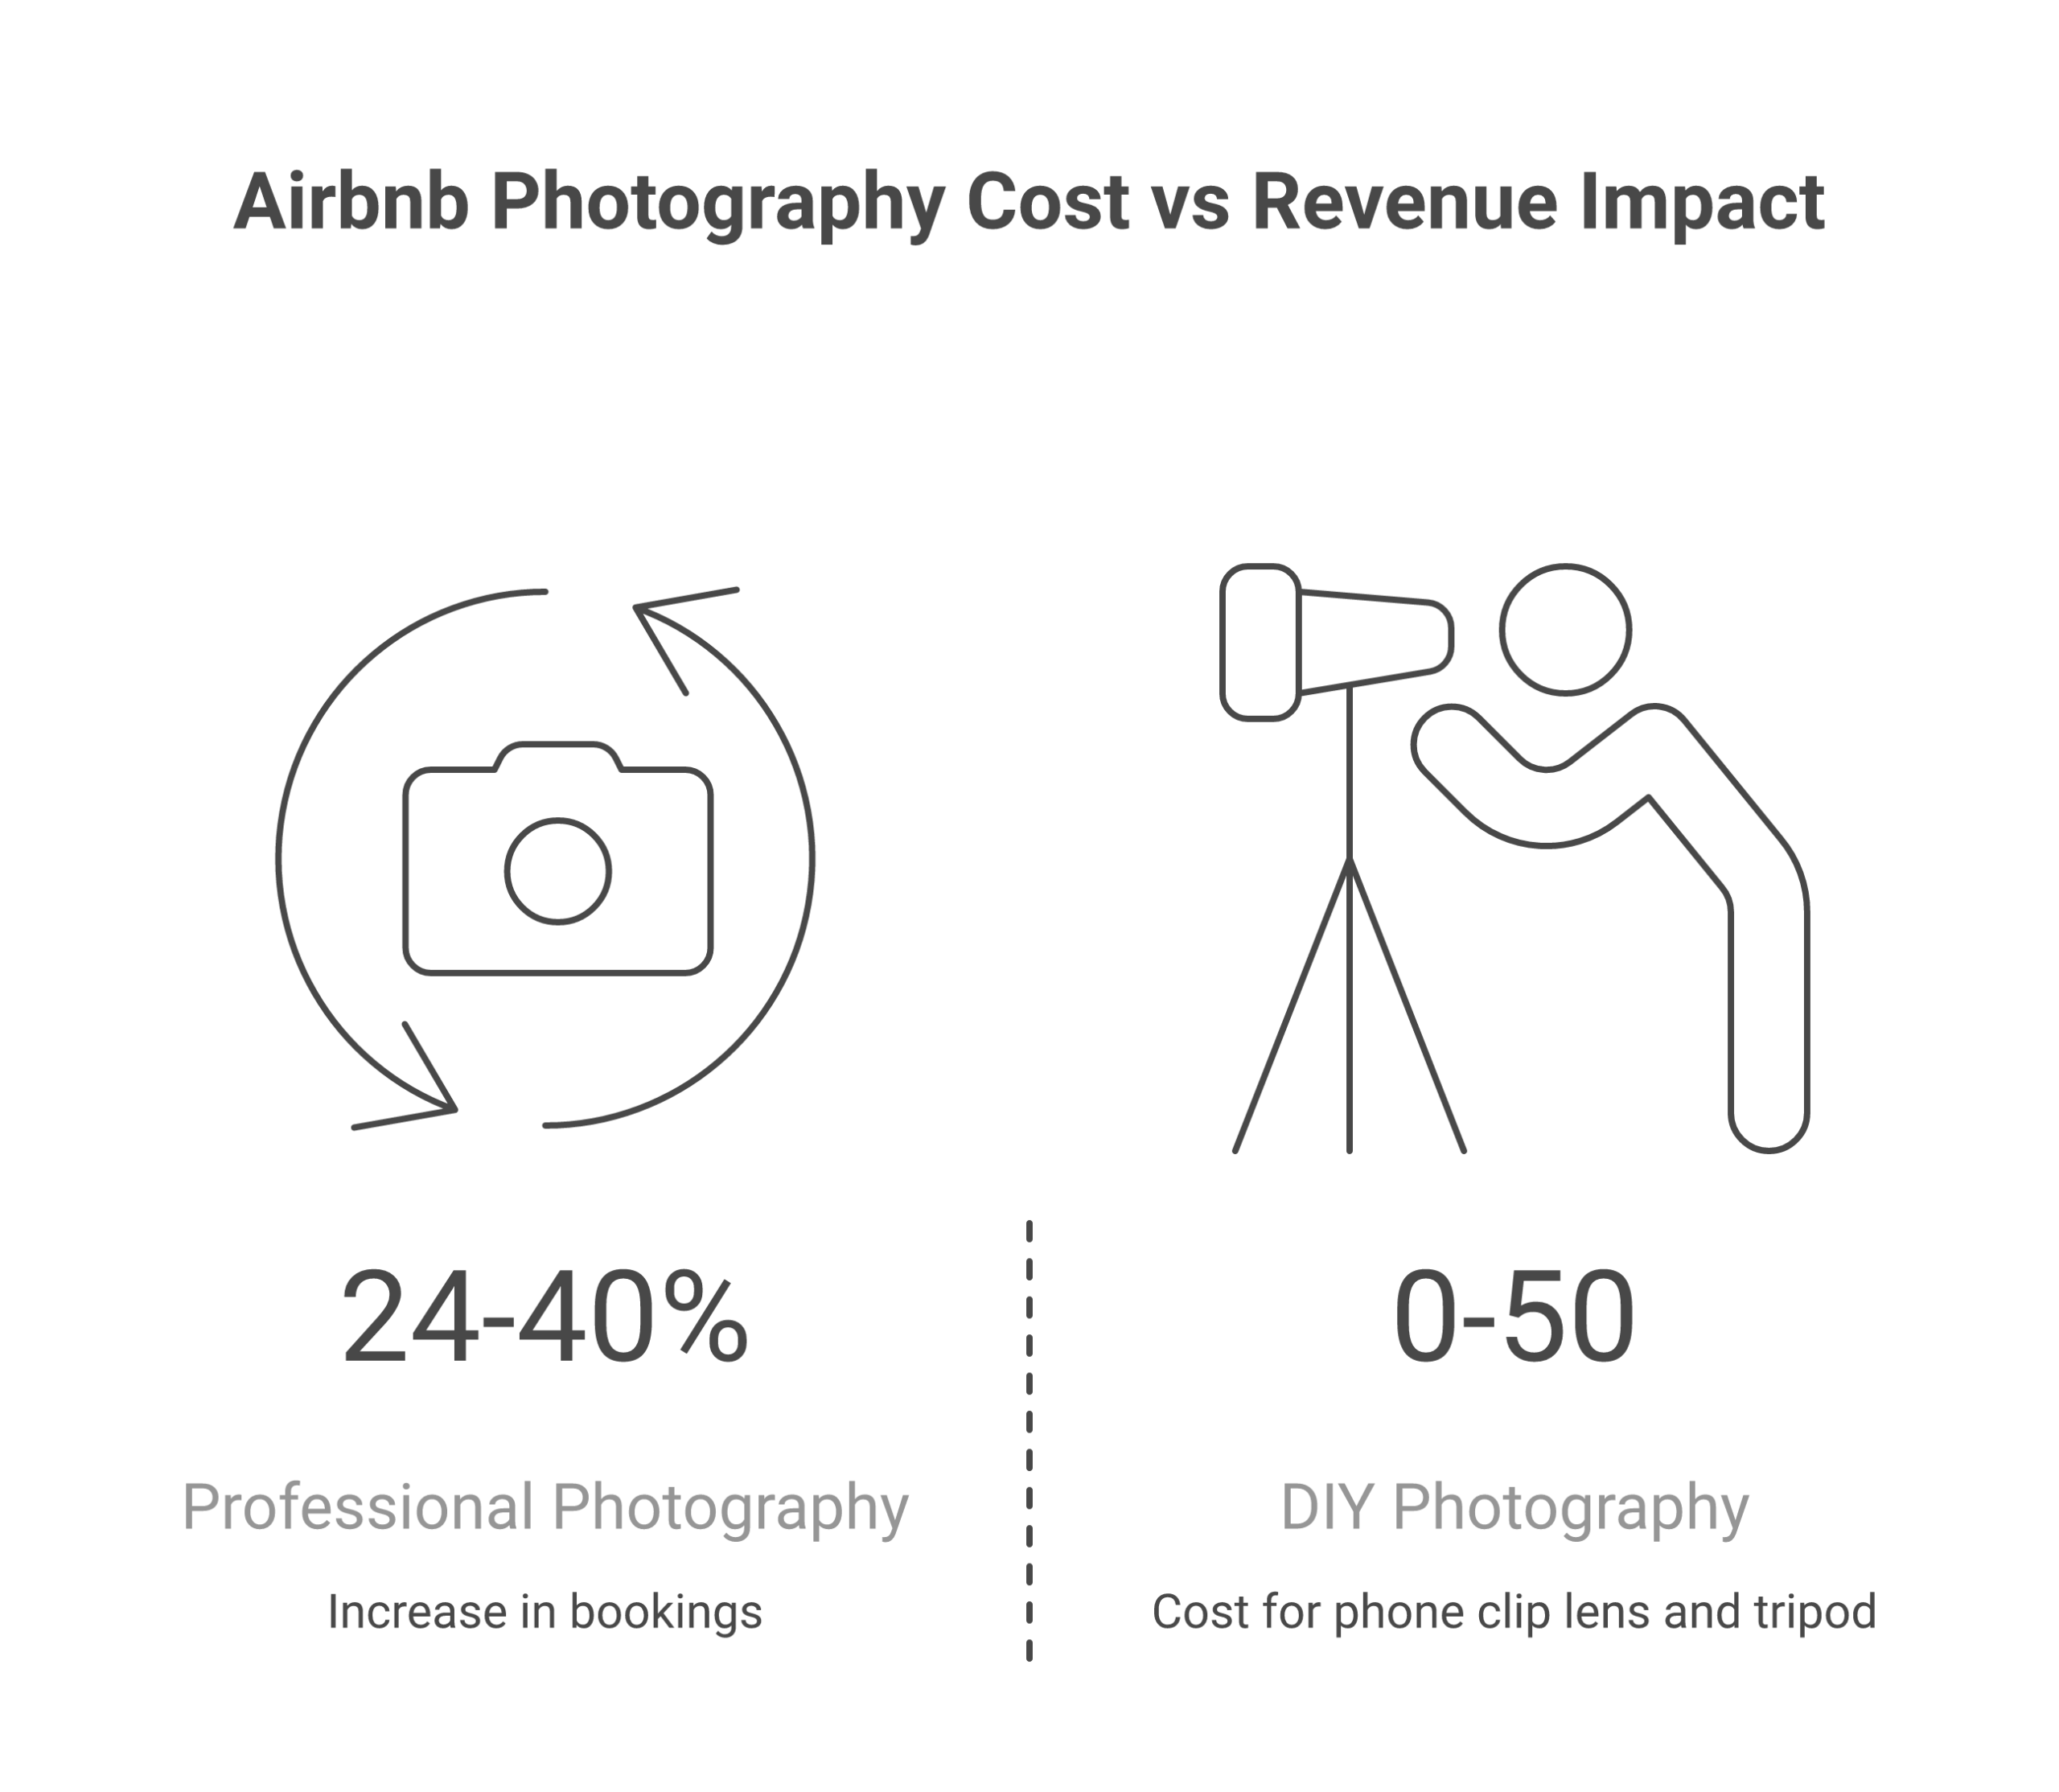
Your Airbnb listing photos determine whether a guest clicks “Book” or scrolls past you. Full stop. Before anyone reads your description, checks your amenities, or compares your price, they judge your property based on what they see. A Carnegie Mellon University study found that high-quality Airbnb photography increased yearly revenue by an average of $2,455 per listing. Airbnb’s own data shows listings with professional photography earn up to 40% more revenue and get booked 24% more often. I’ve watched hosts go from 30% occupancy to 85% by doing nothing except swapping out their photos.
This airbnb photography guide covers everything: equipment, lighting, room-by-room shot lists, editing, photo order strategy, and the mistakes that silently kill your bookings. Whether you’re shooting with an iPhone or hiring a professional photographer, you’ll walk away knowing exactly how to take photos that convert browsers into guests who book.
Why Airbnb Photos Are Your Most Important Marketing Asset
Here’s the thing about rental arbitrage and short term rental hosting: you can have the best location, the lowest price, and a perfect 5-star rating, but if your photos are mediocre, you’re losing money every single day. Potential guests make snap judgments. Research on vacation rental platforms consistently shows that listings with beautiful photos receive significantly more engagement. Properties with standout images see roughly 60% more interest from potential guests, and those with professional photos get over twice the views of listings relying on quick smartphone snaps.
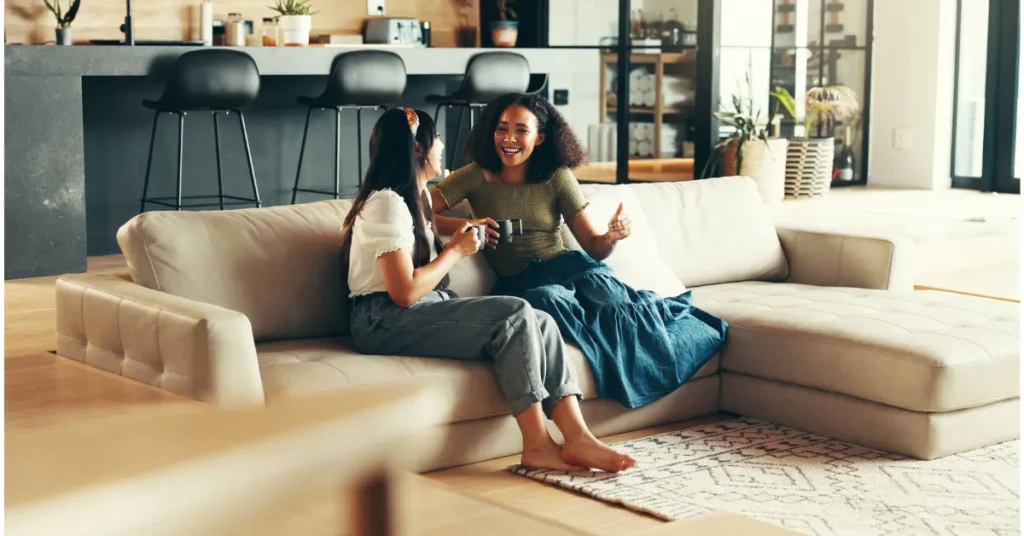
Think about your own booking behavior. When you’re scrolling through dozens of listings in a city you’ve never visited, what makes you stop? It’s not the cancellation policy. It’s that one photo, the sunlit living room with exposed brick, the bedroom that looks like a boutique hotel, the kitchen where you can picture yourself making morning coffee. Photos create an emotional response that no written description can match.
Airbnb figured this out early. The company’s breakthrough came when they hired professional photographers and replaced user-generated content with high-quality images. Their monthly revenue doubled from that single strategic shift. If better photos moved the needle that dramatically for an entire platform, imagine what upgrading your airbnb pictures does for your individual listing page.
And this isn’t just about more bookings. It’s about better bookings. Strong, detailed photos attract guests who understand exactly what they’re getting. They arrive with accurate expectations, which means fewer complaints, fewer refund requests, and better reviews. Those reviews compound into higher search placement, which brings more guests who book at higher rates. It’s a flywheel, and photography is the thing that kicks it into motion.
DIY vs. Professional Airbnb Photography: When Each Makes Sense
One of the first questions every host asks: should I hire a professional photographer or just use my phone? The honest answer depends on your property, your budget, and where you are in your hosting journey.
| Factor | DIY Photography | Professional Photography |
|---|---|---|
| Cost | $0-$50 (tripod + lens clip) | $150-$500 per session |
| Time Investment | 2-4 hours (shooting + editing) | 1-2 hours (they handle everything) |
| Image Quality | Good with practice and natural light | Excellent, consistent, polished |
| Equipment Needed | Smartphone + tripod + lens clip | Nothing. They bring gear |
| Editing Required | Yes, 30-60 minutes | Included in the fee |
| Best For | Budget hosts, simple spaces, updates | Luxury listings, large properties, first shoots |
| Turnaround | Same day | 3-7 business days |
When to Hire a Professional Photographer
If your property generates, or should generate, over $3,000 per month, professional photography almost always pays for itself within the first booking cycle. Here’s when it makes the most sense:
- Luxury or unique properties – High-end finishes, architectural details, and large spaces are hard to capture well on a phone. A professional photographer knows how to light a 3,000 sq ft home so it feels inviting, not cavernous.
- Properties with 3+ bedrooms – More rooms means more shots, more angles, and more opportunities to mess up white balance and exposure. Pros handle this without thinking about it.
- Your first listing – You don’t know what you don’t know yet. A professional establishes a baseline you can maintain with DIY updates later.
- Listings competing in saturated markets – In cities like Nashville, Austin, or Scottsdale, the top listings all have professional-grade photos. You can’t compete with phone snapshots in a market where every other listing has magazine-quality images.
To find a photographer, search “real estate photographer” or “Airbnb photographer” in your area. Expect to pay $150-$300 for a standard 1-2 bedroom unit, and $300-$500 for larger properties. Some photographers offer Airbnb-specific packages that include editing, virtual staging, and a floor plan.
When DIY Works Just Fine
DIY photography makes sense when you’re starting out with a tight budget, managing a simple studio or 1-bedroom, or doing seasonal updates to an already-photographed listing. Modern smartphones, iPhone 14 and up, Samsung Galaxy S23 and up, Google Pixel 7 and up, shoot at 12-50 megapixels with computational photography features that rival entry-level DSLRs in good lighting conditions.
I’ve seen hosts take quality photos with just a phone and a $20 tripod that outperform lazy professional shoots. The difference isn’t the camera. It’s the preparation, lighting, and composition. If you nail those three things, your phone is more than good enough.
Essential Equipment for DIY Airbnb Photography
You don’t need expensive gear. Here’s what actually moves the needle:
Your Smartphone (The Only Camera Most Hosts Need)
Any smartphone made after 2022 has the resolution and dynamic range to produce high quality photos for Airbnb. The minimum Airbnb photo resolution is 1024 x 683 pixels, even a 5-year-old phone exceeds that by a wide margin. What matters more than megapixels is how you use natural light and composition.
Quick settings check before shooting:
- Turn off flash (always)
- Clean your lens with a microfiber cloth
- Set to highest resolution available
- Enable HDR mode (merges multiple exposures for balanced lighting)
- Shoot in landscape orientation (horizontal), Airbnb crops to landscape in search results and on the listing page
A Tripod ($15-$40)
A tripod eliminates camera shake, keeps your horizon line straight, and lets you shoot in lower light without blur. I’d rank it as the single most impactful $20 purchase you can make for your listing. Phone tripods with flexible legs (like the Joby GorillaPod) work well because you can position them on countertops, railings, or uneven surfaces.
Wide-Angle Lens Clip ($10-$30)
A clip-on wide-angle lens for your phone captures more of the room in a single frame. This is especially useful for small spaces, bathrooms, compact kitchens, studio apartments, where you physically can’t back up far enough to show the whole room. Look for a lens between 0.45x and 0.6x magnification. Avoid the ultra-wide fisheye lenses that create barrel distortion and make rooms look weird.
What You Don’t Need
You don’t need a DSLR or mirrorless camera ($500-$2,000+). You don’t need studio lighting ($100-$300). You don’t need a drone for aerial shots ($300+). These are nice-to-haves for professional photographers, but for 95% of hosts shooting their own vacation rental, a phone, tripod, and lens clip produce excellent results. Save that money for investments that directly increase your revenue.
Mastering Natural Light for Airbnb Photos
Lighting makes or breaks every photograph. You can stage a room flawlessly, but shoot it under harsh overhead lights at 9 PM and it’ll look like a crime scene. Natural light is free, flattering, and the single most important technical factor in whether your airbnb photos look professional or amateur.
The Best Time of Day to Shoot
The best light for interior photography comes during the “golden windows”, roughly 2 hours after sunrise and 2 hours before sunset. During these windows, sunlight enters rooms at a low angle, creating soft shadows and warm tones. Midday sun creates harsh shadows and blown-out highlights through windows. Overcast days are actually ideal because clouds act as a giant diffuser, producing even, shadowless light throughout your space.
Here’s a practical schedule that works for most properties:
| Time | Light Quality | Best For |
|---|---|---|
| 7-9 AM | Warm, soft, directional | East-facing rooms, bedrooms, kitchen |
| 10 AM-2 PM | Bright, harsh, high contrast | Outdoor spaces only (not interiors) |
| 3-5 PM | Warm, golden, flattering | West-facing rooms, living areas, patios |
| 5-7 PM (Golden Hour) | Dramatic, warm, beautiful | Exterior shots, pool, hot tub, deck |
| Overcast Day | Even, soft, no harsh shadows | Everything, the best all-around condition |
How to Use Natural Light Indoors
For every interior shot, follow these steps:
- Turn off all overhead lights. Overhead lights create unflattering downward shadows and often cast a yellow or blue color temperature that clashes with daylight. This is the most common mistake I see in airbnb pictures.
- Open every window covering. Pull back curtains, raise blinds, open shutters. You want as much natural light flooding the room as possible.
- Shoot toward the light source, not away from it. Position yourself so windows are in front of you or to the side. Shooting with your back to windows creates a bright background with a dark room.
- Use lamps selectively. Table lamps and floor lamps can add warm accent lighting that complements natural light. Just don’t use them as your primary light source.
One exception: bathrooms without windows. In that case, turn on all available lights and consider bringing in a portable LED panel ($15-$30 on Amazon) to fill in shadows. Even a desk lamp pointed at the ceiling creates bounced light that softens the look significantly.
Room-by-Room Airbnb Photography Guide
This is where your photo tour gets specific. Each room has a different purpose, a different set of features to highlight, and a different shooting approach. I’m going to walk you through exactly what to capture and how.
Living Room: Your Hero Shot
The living room is usually your first photo and the space that sets the tone for your entire listing. Your cover photo will likely come from here.
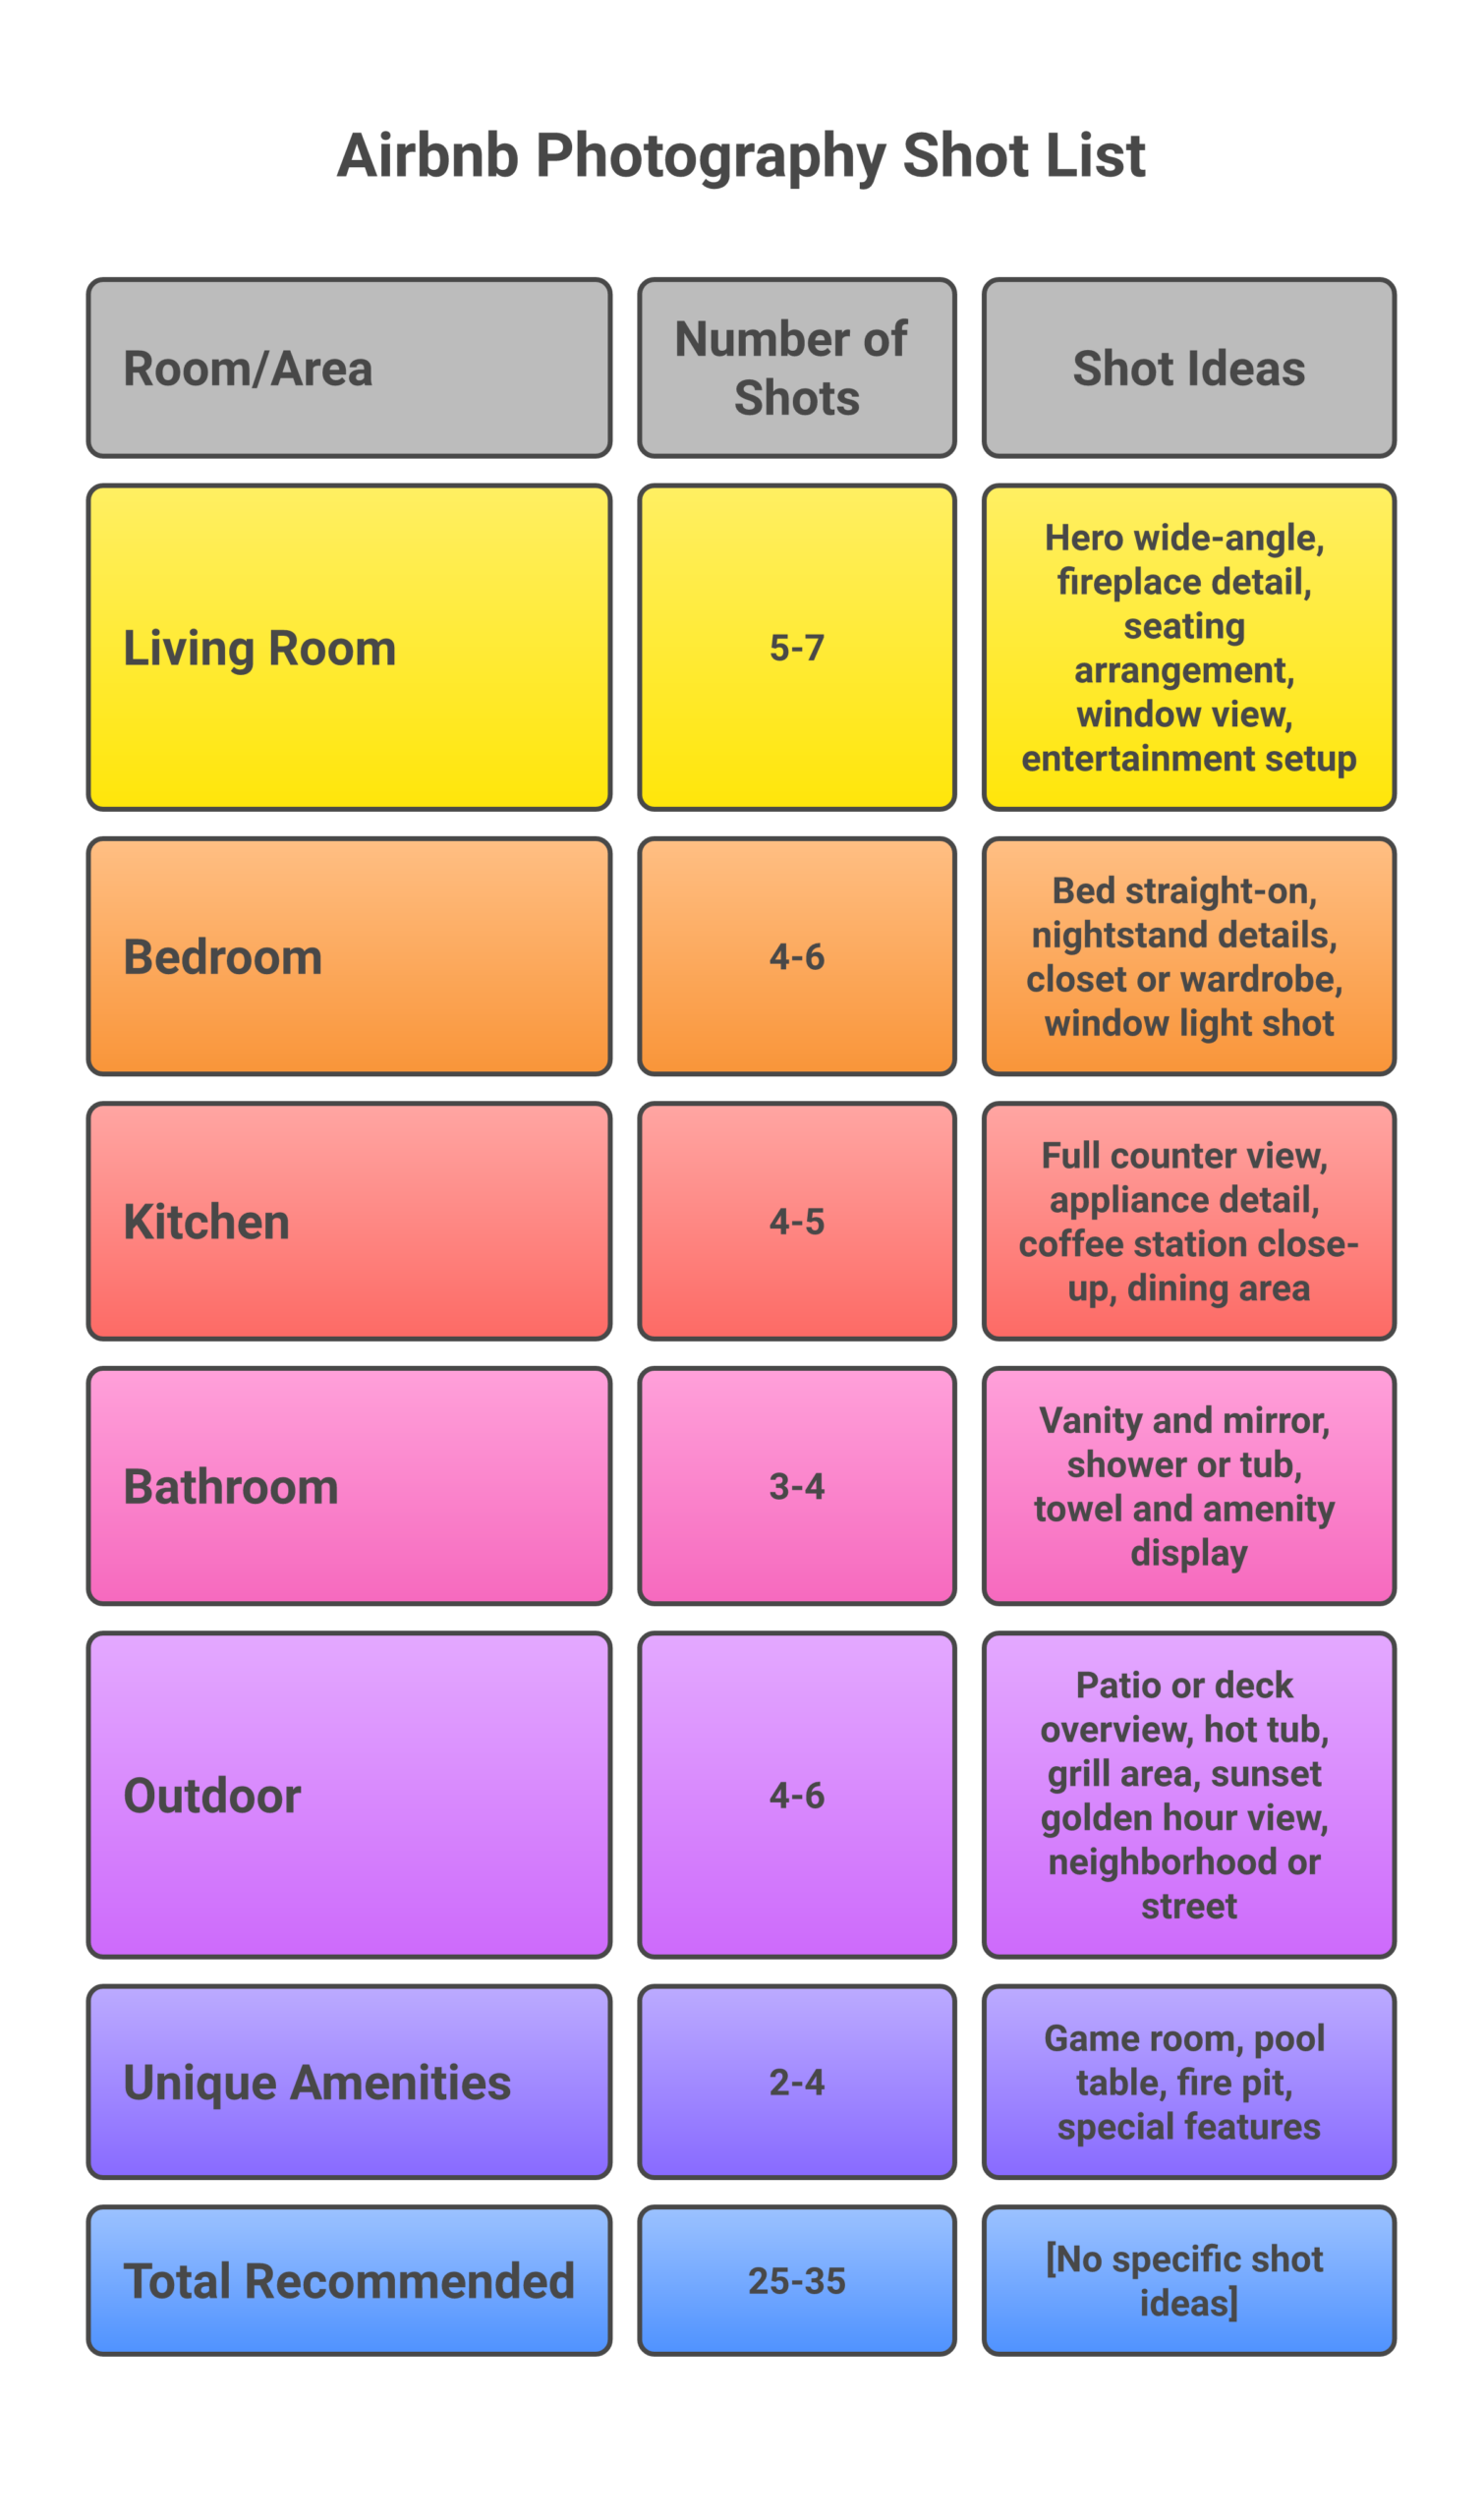
Shot list (5-7 photos):
- Wide-angle from the doorway looking into the room (this is typically your hero shot and potential cover photo)
- Opposite angle showing the other half of the room
- Seating area close-up showing texture and comfort
- Entertainment setup (TV, streaming devices, gaming consoles)
- Window view (if you have one worth showing)
- Fireplace or focal feature detail
- Any unique details, artwork, bookshelves, architectural elements
Pro tip: Shoot your hero shot from the lowest corner of the room, about 4 feet off the ground (chest height). This angle makes the space feel larger and more inviting than eye-level or overhead shots. If your living room connects to a dining area or kitchen, try to capture that flow in a single wide shot so guests understand the layout.
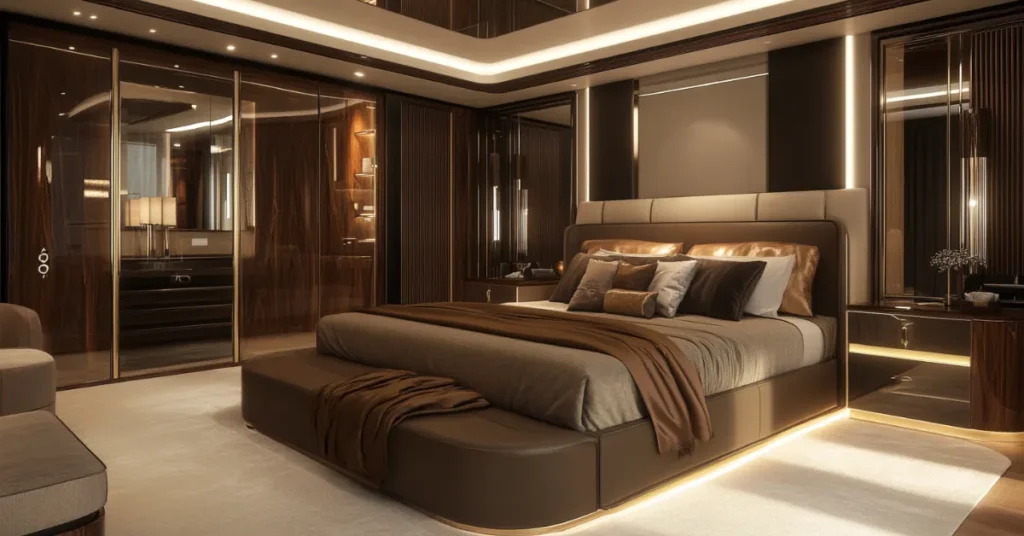
Bedroom: Sell the Sleep Experience
Guests care about bedrooms more than any other room. A bed that looks uncomfortable or a room that feels dark and cramped will tank your bookings faster than a mediocre kitchen.
Shot list (4-6 photos per bedroom):
- Straight-on shot of the bed from the foot, showing the full headboard and bedding
- Angled shot from a corner showing the bed plus the rest of the room
- Nightstand detail (lamp, book, alarm clock, the little details that suggest comfort)
- Closet or wardrobe (guests want to know where they’ll put their clothes)
- Window light shot showing the ambiance
- Any special feature: ensuite bathroom door, balcony access, desk/workspace
Staging the bed: Fresh, crisp white linens photograph the best. Make the bed hotel-style with tight corners and a decorative throw at the foot. Add 4-6 pillows (mix sizes). A folded towel with a small welcome item (chocolate, local treat) adds a touch that photographs well and signals hospitality.
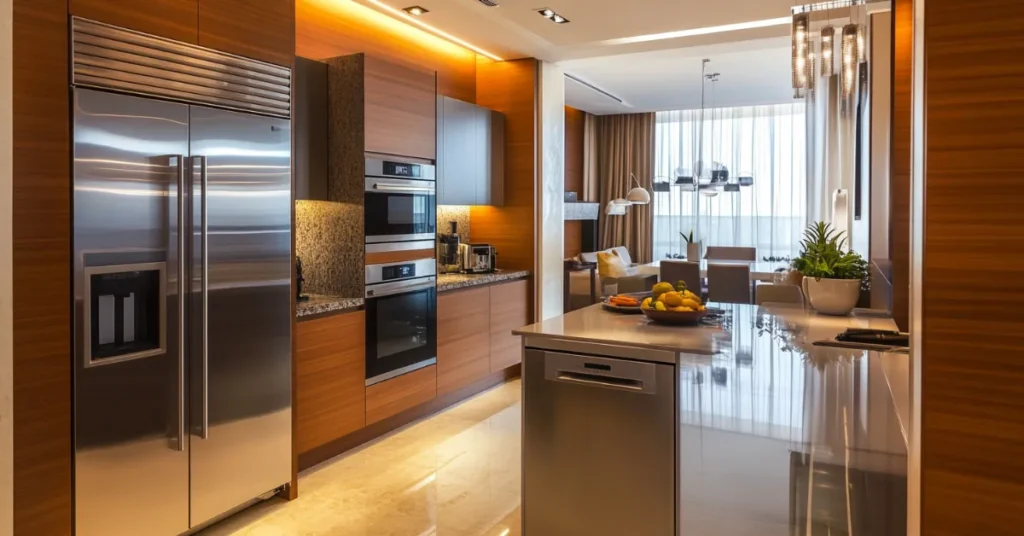
Kitchen: Clean, Bright, and Functional
Kitchen photos need to communicate two things: it’s clean, and it’s functional. Nobody expects a chef’s kitchen in most vacation rentals, but guests want to see they can make a meal without frustration.
Shot list (4-5 photos):
- Wide shot showing the full kitchen layout, counters, cabinets, appliances
- Counter detail shot showing coffee maker, toaster, or any notable appliances
- Open pantry or cabinet with neatly arranged supplies (if well-stocked)
- Dining area or breakfast bar (include place settings for warmth)
- Close-up of any special feature: espresso machine, wine fridge, butcher block island
Staging tips: Clear everything off counters except 2-3 intentional items (coffee maker, fruit bowl, cutting board with bread). Wipe down every surface. If your fridge has magnets or notes, remove them. Open the blinds above the sink. A clean, uncluttered kitchen photographs dramatically better than one with appliances and containers everywhere.
Bathroom: Spotless and Spa-Like
Bathrooms are the room where cleanliness matters most in photos. A single toothpaste smudge on the mirror or a wrinkled shower curtain will make potential guests question the entire property.
Shot list (3-4 photos):
- Wide shot from the doorway showing the full bathroom
- Vanity/mirror shot showing sink area and lighting
- Shower or bathtub close-up (glass doors look better than curtains, if you have a curtain, make sure it’s fresh and pulled fully open)
- Towel and amenity display (rolled white towels, soap, shampoo, hotel-style presentation)
Critical detail: Never take a bathroom photo with yourself visible in the mirror. This sounds obvious, but scroll through Airbnb listings sometime, you’ll see it constantly. Use a tripod with a timer, or angle the shot to avoid the mirror’s reflection entirely.
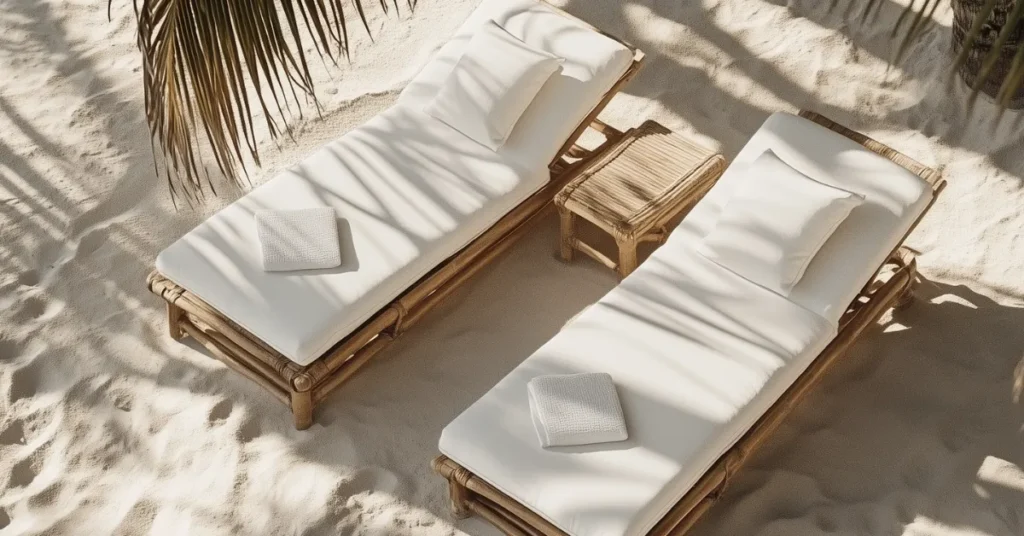
Outdoor Spaces: The Golden Hour Advantage
If you have outdoor space, patio, deck, yard, pool, hot tub, these photos are often the ones that push a guest from “interested” to “booked.” Outdoor spaces sell the experience, not just the accommodation.
Shot list (4-6 photos):
- Wide overview of the full outdoor area
- Seating area close-up (patio furniture with cushions, maybe a throw blanket)
- Hot tub or pool shot (evening with lights on looks incredible)
- Grill or outdoor kitchen area
- View shot (what guests see from the outdoor space)
- Golden hour shot, shoot during the last hour before sunset for warm, dramatic lighting
If you have a hot tub, make it a priority. Hot tub photos are one of the biggest booking drivers for short-term rental properties, especially in mountain, rural, and cold-weather markets. Fill it, turn on the jets, and shoot at twilight when the steam catches the light.
Unique Amenities: Your Competitive Edge
This is where you make your listing stand out from the hundreds of similar properties in your market. Whatever makes your place different deserves dedicated photos:
- Game room, pool table, arcade cabinet
- Home theater or projector setup
- Fire pit area (shoot at dusk with flames lit)
- Workspace or home office (huge for remote workers)
- Pet-friendly features (fenced yard, dog bed, treats)
- Kids’ amenities (bunk beds, playroom, high chair)
- Gym equipment or yoga space
- EV charging station
These unique details are what make potential guests choose your listing over a competitor’s. They’re also the shots that perform best when shared on social media by guests who tag your property. Don’t skip them.
Photo Editing: Quick Fixes That Transform Your Images
Editing doesn’t mean faking what your property looks like. It means correcting what the camera got wrong, straightening horizons, balancing color temperature, and making the photo match what your eyes actually saw when you were standing in the room. Over-edited airbnb photos backfire because guests arrive expecting something that doesn’t exist and leave bad reviews.
Best Free Editing Apps
| App | Platform | Best Feature | Price |
|---|---|---|---|
| Snapseed | iOS, Android | Selective adjustments, fix one area without affecting the rest | Free |
| Adobe Lightroom Mobile | iOS, Android | Professional-grade controls with presets | Free (basic), $10/mo (full) |
| VSCO | iOS, Android | Clean presets that look natural, not over-processed | Free (basic), $30/yr (full) |
| Google Photos | iOS, Android | One-tap “Enhance” that works surprisingly well | Free |
The 5-Minute Edit Workflow
For every photo, run through these adjustments in this order. The whole process takes about 30 seconds per image once you get the rhythm:
- Straighten the horizon. Use the level/rotation tool. Tilted photos look careless. This is the single most common fixable issue in amateur airbnb photography.
- Crop to 3:2 ratio. This matches Airbnb’s display format. Cropping also lets you remove distracting elements at the edges of the frame.
- Boost brightness +10-20%. Phone cameras tend to underexpose interiors. Bumping brightness makes rooms feel more open and welcoming.
- Increase contrast +5-10%. Just enough to add depth without making shadows too dark.
- Warm the color temperature slightly. Move the warmth slider toward yellow by about 5-10%. Warm photos feel inviting. Cool, bluish photos feel sterile.
- Sharpen +10-15%. Adds crispness to edges and details. Don’t go overboard, over-sharpened photos look crunchy and artificial.
The golden rule of editing: If someone can tell the photo has been edited, you’ve gone too far. The goal is high quality images that accurately represent your space, not Instagram filters that set false expectations.
How Many Photos Should Your Airbnb Listing Have?
Airbnb allows up to 100 photos per listing, but more isn’t always better. The sweet spot for most properties is 25-35 detailed photos. Here’s why:
- Fewer than 15 photos: Guests assume you’re hiding something. Low photo count correlates with lower booking rates and more pre-booking messages asking for additional images.
- 15-24 photos: Adequate for studios and 1-bedroom units. Covers the basics but may leave questions about details.
- 25-35 photos: Ideal for most properties. Complete enough to show every room, multiple angles, and unique details without overwhelming the viewer.
- 36-50 photos: Appropriate for large properties (4+ bedrooms) or properties with extensive outdoor spaces, pools, and multiple living areas.
- 50+ photos: Only necessary for estates, event venues, or properties with truly exceptional detail. Beyond 50, engagement starts dropping because guests won’t scroll through all of them.
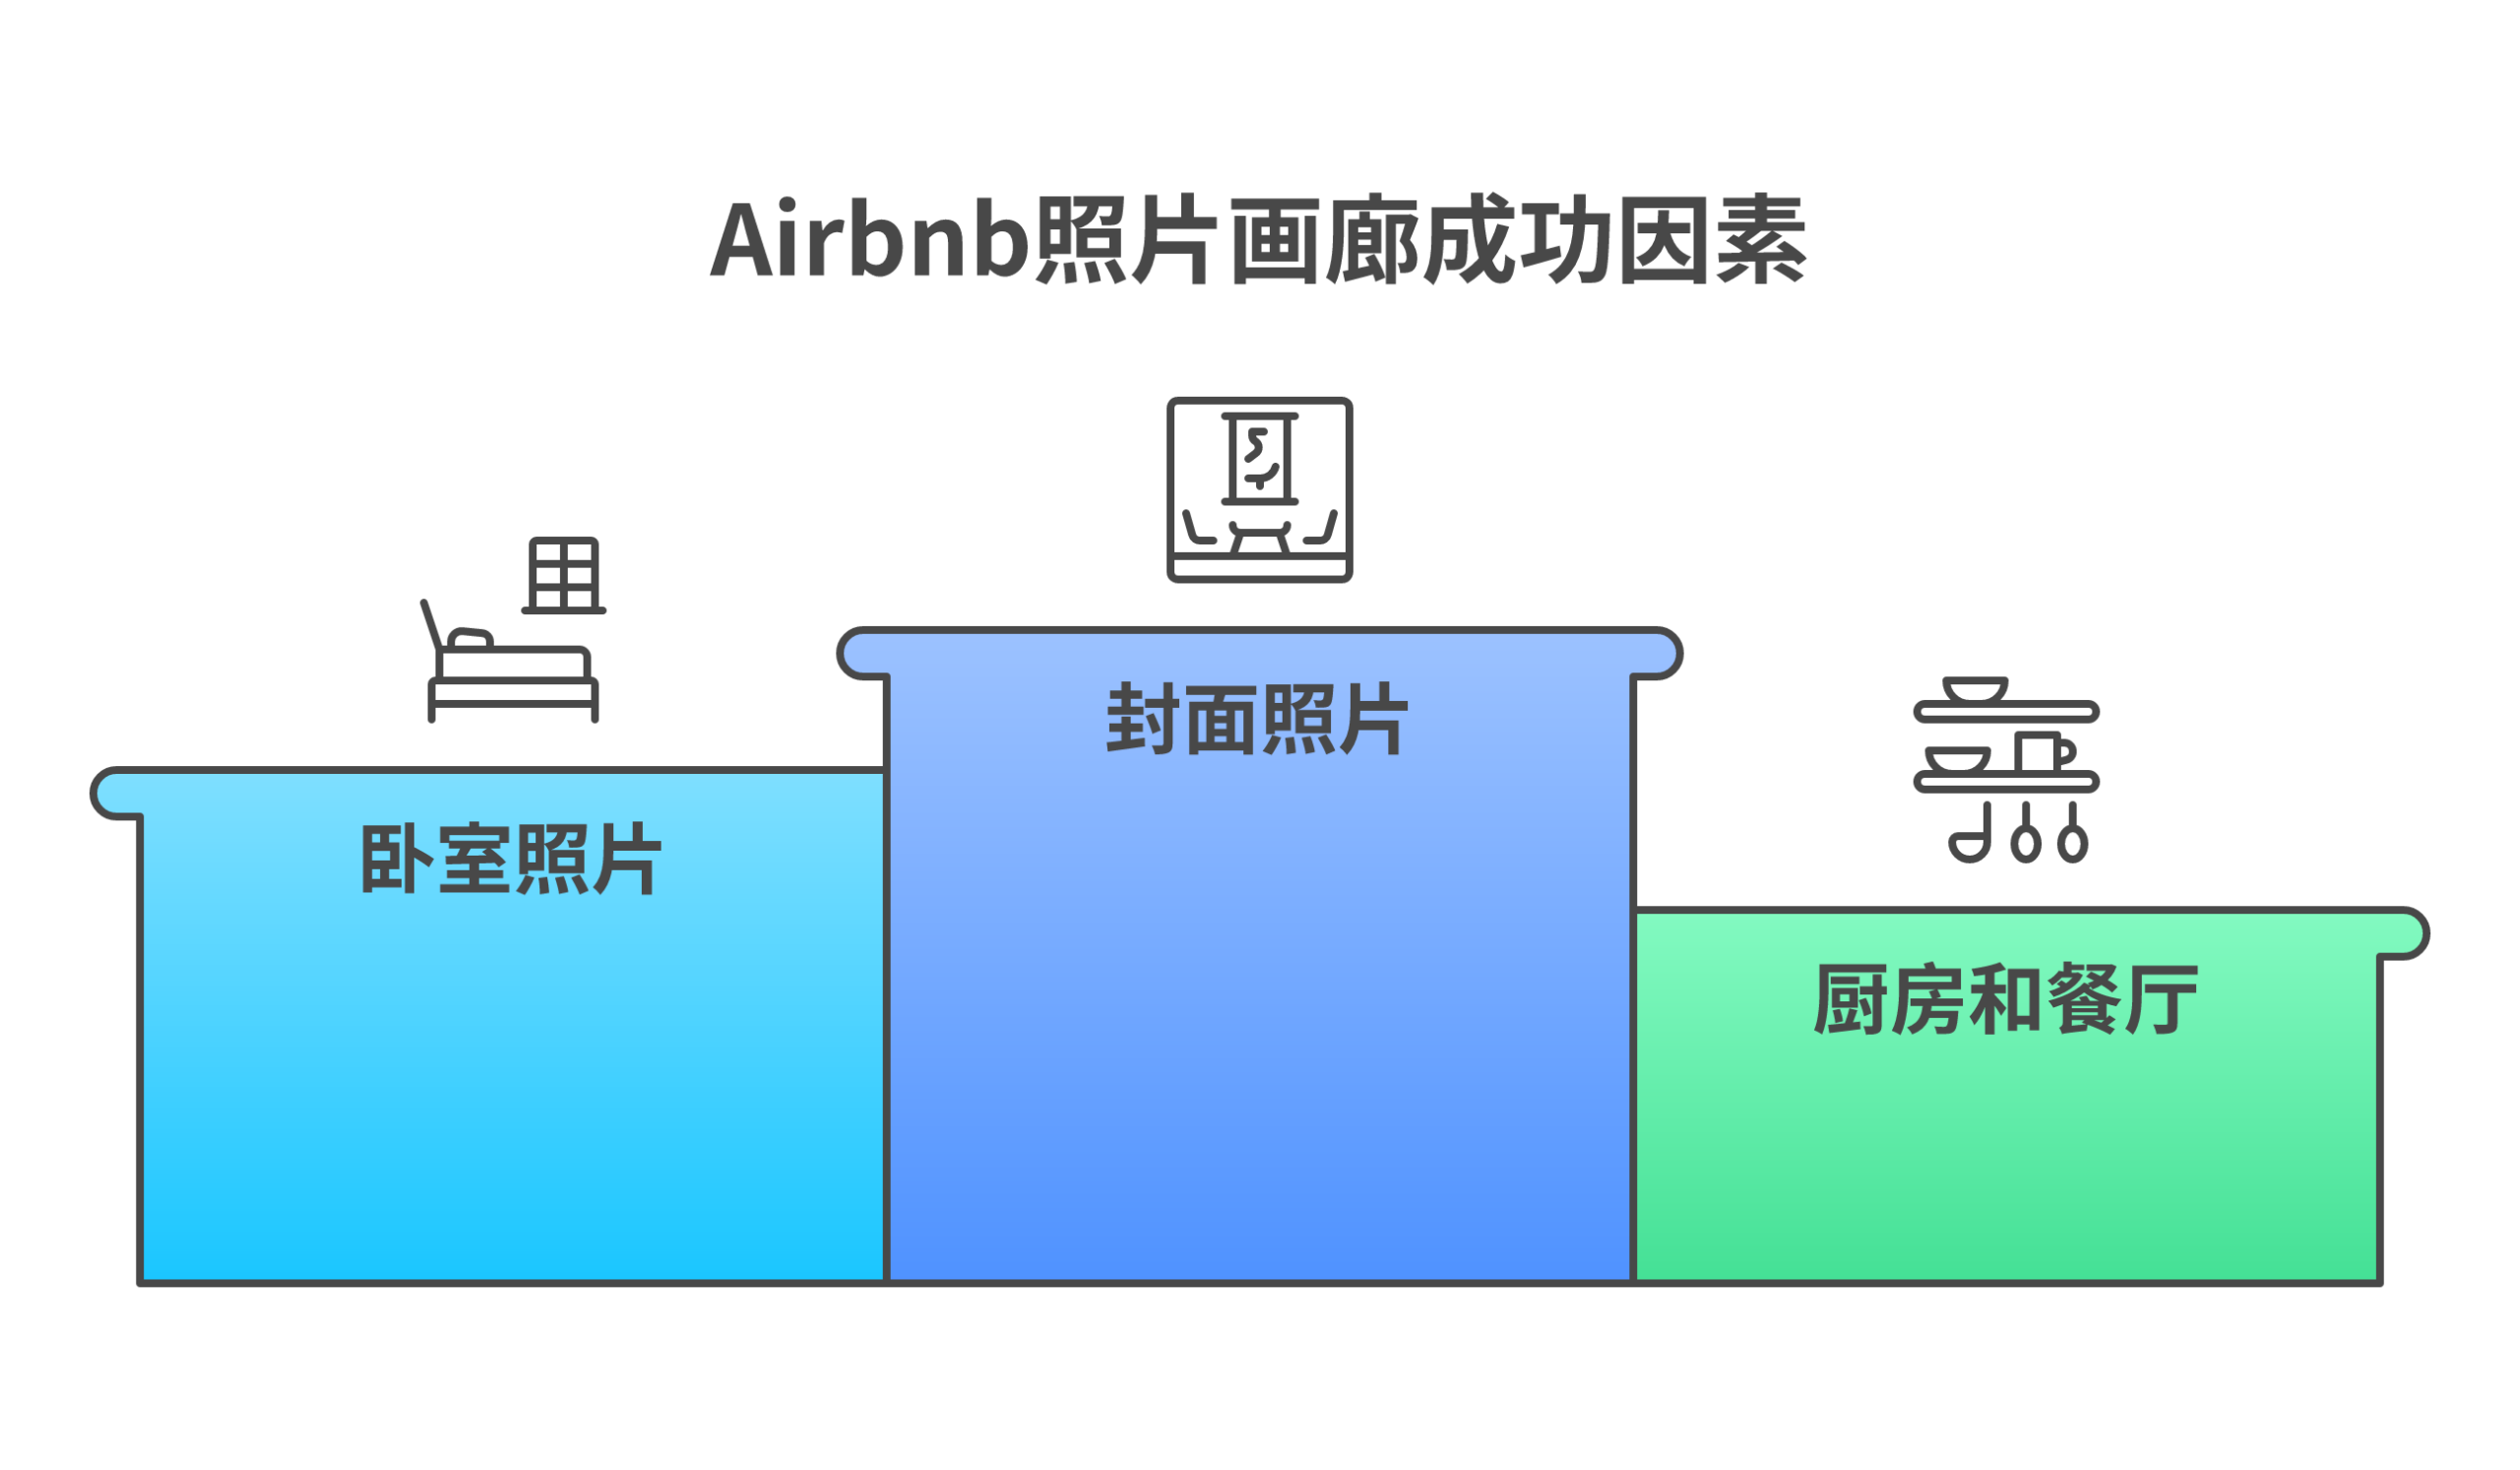
The first 5 photos get roughly 80% of all views. Most potential guests decide whether to keep looking or move on based on those first 5 images alone. Put your absolute best shots there. Your cover photo, the biggest bedroom, the kitchen, the outdoor space, and one “wow factor” shot.
Cover Photo: The Most Important Photo on Your Listing
Your cover photo is your first photo, the image that appears in Airbnb search results when guests are browsing. It’s the single image that determines whether someone clicks into your listing or scrolls past. Think of it as your listing’s billboard.
What Makes a Great Cover Photo
- Wide-angle shot of your most impressive space – Usually the living room, but could be the bedroom or outdoor area if those are your strongest features
- Bright, natural light – Dark cover photos get skipped. Brightness signals cleanliness and warmth
- Depth and dimension – Shoot from a corner or doorway to create a sense of space. Flat, straight-on shots feel cramped
- A lifestyle element – A set dining table, an open book on the couch, wine glasses on the patio. Something that helps guests picture themselves there
- No clutter – Every item in the frame should be intentional
How to Set Your Cover Photo on Airbnb
In your Airbnb hosting dashboard, go to your listing, Photos. The first photo in your sequence is your cover photo. To change it, simply drag photos to reorder them. Place your best image first. You can drag photos into any position, the platform makes reordering straightforward. Test different cover photos every 2-3 months and compare your click-through rate in your hosting analytics.
Photo Order Strategy: Tell a Story With Your Gallery
Most hosts upload photos randomly. That’s a missed opportunity. Your photo gallery should function as a virtual photo tour that walks guests through your property in a logical sequence, just like they’d experience it if they walked through the front door.
The Optimal Photo Sequence
- Cover photo – Your hero shot (living room or most impressive space)
- Living area – Additional angles of the main living space
- Primary bedroom – The bed, the room, the details
- Additional bedrooms – If applicable, show each one
- Kitchen – Wide shot followed by details
- Dining area – Table set for a meal
- Bathroom(s) – Clean, well-lit
- Outdoor spaces – Patio, pool, hot tub, deck
- Unique amenities – Game room, fire pit, workspace
- Neighborhood and views – Local scenery, nearby attractions
- Building exterior – The approach/entrance (sets expectations for arrival)
- Floor plan – If you have one, place it last
This sequence works because it mirrors the guest’s decision-making process: “Does this space look appealing?” (cover photo), “Where will I sleep?” (bedroom), “Can I cook?” (kitchen), “What else can I do here?” (amenities, outdoor spaces), “Where is this place?” (neighborhood).
Photo Caption Strategy
Airbnb lets you add captions to each photo. Most hosts either skip captions entirely or write generic labels like “Living Room” or “Bedroom 2.” That’s a waste. Captions are your chance to highlight specific details that the photo alone might not communicate:
- Instead of “Living Room” write “Open-concept living area with 65-inch Smart TV, Netflix, and Sonos speaker”
- Instead of “Kitchen” write “Fully equipped kitchen with espresso machine, dishwasher, and all cooking essentials”
- Instead of “Patio” write “Private patio with propane grill, dining for 6, and sunset views over the valley”
Descriptive captions help guests understand exactly what’s included, reduce pre-booking questions, and reinforce the value proposition of your listing. They’re also indexed by Airbnb’s search algorithm, so including relevant amenity keywords improves discoverability.
9 Photography Mistakes That Kill Your Bookings
I’ve reviewed hundreds of Airbnb listings across dozens of markets, and the same mistakes show up over and over. Avoid these and you’re already ahead of 80% of hosts.
1. Cluttered Backgrounds
Charging cables on the nightstand. Cleaning supplies under the sink. A pile of shoes by the door. Clutter in your airbnb photos signals that you’re careless about details, and guests will assume you’re equally careless about cleanliness. Before every shot, scan the entire frame and remove anything that doesn’t belong.
2. Relying on Overhead Lights
Overhead lights are the enemy of good interior photography. They create harsh downward shadows, cast yellow or blue color casts, and make rooms feel flat and unflattering. Turn off your overhead lights. Use natural light as your primary source, supplemented by table and floor lamps for warmth.
3. Vertical (Portrait) Photos
Airbnb displays photos in landscape (horizontal) format. If you upload vertical photos, the platform crops them automatically, cutting off the top and bottom of your image. Always shoot horizontally. Every photo in your gallery should be wider than it is tall.
4. Too Few Photos
Under 15 photos signals that you’re either hiding problems or didn’t put effort into your listing. More guests book listings with complete galleries. Shoot 25-35 photos minimum. Cover every room from multiple angles. Show the details.
5. Not Showing the Neighborhood
Your listing isn’t just the property. It’s the location. Guests want to see what’s nearby: the street view, local shops, parks, walking paths, the nearest beach, the mountain view from the balcony. Include 2-4 neighborhood shots toward the end of your gallery. This is especially valuable for properties in desirable travel destinations where location is a major selling point.
6. The Bathroom Mirror Selfie
It happens more than you’d think. A host takes a photo of their bathroom and their reflection is clearly visible in the mirror. It looks unprofessional and instantly makes the listing feel amateur. Use a tripod with a timer, or stand at an angle that avoids the mirror’s reflection.
7. Over-Edited or Filtered Photos
Heavy HDR processing, saturated colors, or Instagram-style filters might look “cool” but they create unrealistic expectations. When a guest arrives and the living room doesn’t look like a candy-colored dreamscape, you get a bad review. Keep edits subtle. The photo should look like what a guest will actually see.
8. Shooting at the Wrong Time of Day
Taking interior photos at night with all the lights on produces photos that feel yellow, cramped, and uninviting. Shooting at midday with harsh sunlight streaming through windows creates blown-out highlights and dark shadows. Wait for the best light, morning or late afternoon for interiors, golden hour for exteriors.
9. Ignoring Small Spaces
Laundry rooms, closets, entryways, hallways, garages. These spaces matter to guests even if they’re not glamorous. Showing them signals transparency and completeness. A guest who books after seeing every corner of your property arrives with accurate expectations. A guest who discovers a cramped, dark laundry closet they never saw in photos feels misled.
Advanced Techniques: Floor Plans, Virtual Tours, and Seasonal Updates
Once you’ve nailed the basics, these advanced techniques can give your listing a competitive edge that most hosts in your market won’t bother with.
Floor Plans
A floor plan helps guests understand the layout of your property in a way that photos alone can’t communicate. They’re especially valuable for larger properties with multiple bedrooms and living areas where guests need to understand how the space flows and which bedrooms are next to each other.
You can create a basic floor plan using free tools like Floorplanner.com or RoomSketcher. It doesn’t need to be architect-grade, a clean diagram showing room locations, bed sizes, and bathroom positions is enough. Place it as the last image in your gallery.
360-Degree Virtual Tours
Platforms like Matterport (starting at $10/month for a basic plan) or the free Ricoh Theta app let you create interactive 3D walkthroughs of your property. These are becoming increasingly common on high-end listings and can differentiate your property in competitive markets. Airbnb doesn’t natively support 3D tours in the listing gallery, but you can link to them in your description or house rules.
Seasonal Photo Updates
If your property looks different across seasons, fall foliage, winter snow, spring flowers, summer greenery, update your photos quarterly. Seasonal new photos keep your listing feeling fresh and help guests visualize their specific trip. A property with summer photos in December feels outdated; the same property with cozy winter shots feels intentional and inviting.
At minimum, plan to reshoot your exterior and outdoor spaces each season. Interior shots can usually stay consistent year-round with minor adjustments (swap a light throw blanket for a heavier one in winter photos).
Airbnb Photo Technical Requirements
Before uploading, make sure your photos meet Airbnb’s technical specifications:
| Specification | Airbnb Requirement | Recommended Best Practice |
|---|---|---|
| Minimum Resolution | 1024 x 683 pixels | Upload at full resolution (3000+ pixels wide) |
| Aspect Ratio | 3:2 (width to height) | Crop to 3:2 before uploading |
| Maximum File Size | Up to 30 MB per photo | Keep under 10 MB for faster uploads |
| File Format | JPEG, PNG, BMP | JPEG at 85-95% quality (best size-to-quality ratio) |
| Maximum Photos | 100 per listing | 25-35 for most properties |
| Orientation | Landscape preferred | Always shoot horizontal |
Upload at the highest resolution your camera produces. Airbnb compresses and resizes images automatically for different display contexts, mobile, desktop, TV apps. Higher-resolution originals give the platform more data to work with, resulting in sharper high quality images at every display size.
Uploading and Managing Photos on Airbnb
Getting your new photos live on your listing is straightforward, but there are a few things to know about how the platform handles images.
How to Upload Photos
- Log into your Airbnb hosting dashboard
- Go to Listings – select your property
- Click Photos in the left navigation
- Click Add photos and select your images (you can upload multiple at once)
- Once uploaded, drag photos to reorder them. Your first photo becomes the cover photo
- Add captions to each photo describing what guests see
How to Get a Bigger Photo on Your Listing
Guests can click any photo to view it in a bigger photo lightbox format. The bigger photo view shows your image at much higher resolution than the thumbnail grid. This is why uploading high-resolution originals matters, when a guest zooms in or views the bigger photo version, you want them to see crisp details, not pixelated mush.
To ensure the biggest, sharpest possible display: upload originals at 3000+ pixels wide, in JPEG format at 90%+ quality. Don’t downsize before uploading. Let Airbnb handle the resizing.
Before and After: A Real Listing Makeover
To show you the impact of applying these photo tips, here’s what a typical listing transformation looks like when you go from phone snapshots to deliberate, well-composed photography:
The Original Photos (What Went Wrong)
- Shot at night with overhead lights on, everything had a yellow cast
- Beds unmade with wrinkled sheets
- Countertops cluttered with personal items, mail, and random kitchen gadgets
- Bathroom photos showed the host’s reflection in the mirror
- Only 8 total photos for a 3-bedroom property
- No outdoor shots despite having a great back deck
The Revamped Photos (What Changed)
- Reshot on a cloudy morning with all overhead lights off and windows wide open
- Beds made hotel-style with white linens and decorative pillows
- Kitchen cleared to just a coffee maker and fruit bowl
- Bathroom shot from the doorway with a towel display and candle staging
- 32 professional photos covering every room from multiple angles
- Deck shot at golden hour with patio furniture and a bottle of wine
The Results
Within 30 days of updating the listing with new photos:
- Page views increased 74%
- Booking inquiries went up 45%
- Occupancy climbed from 52% to 78%
- The host was able to raise the nightly rate by $15 because the listing now competed visually with higher-priced properties in the area
The photo reshoot took about 3 hours of DIY work with a phone and a $20 tripod. No professional photographer needed. The improvement came entirely from better preparation, better timing (morning light instead of night), and more complete coverage. That 3-hour investment pays itself back every single month through higher occupancy and rates.
How Airbnb Photography Connects to Your Business Strategy
Photography isn’t a one-time checkbox. It’s an ongoing part of your Airbnb business strategy. Here’s how it connects to the bigger picture:
Photography and Pricing
Great photos justify higher nightly rates. When your listing looks like a boutique hotel, guests expect to pay boutique hotel prices. A property with mediocre photos priced at $200/night triggers hesitation: “Is it really worth that much?” The same property with professional-quality images at $200/night feels like a deal. Use your profit calculator to model how a 10-20% rate increase (supported by better photos) impacts your annual revenue.
Photography and Reviews
Accurate, detailed photos set the right expectations. When guests arrive and the space matches, or exceeds, what they saw online, satisfaction goes up. When photos overrepresent the space (wide-angle distortion, heavy filters, strategic crop jobs that hide flaws), you get disappointed guests and 3-star reviews. Which then tanks your search results placement. Keep your photos honest and let the property sell itself.
Photography and Search Ranking
Airbnb’s search algorithm factors in click-through rate (how often guests click your listing in search results) and conversion rate (how often they book after viewing). Both of these metrics are heavily influenced by your photos. A strong cover photo improves CTR. Complete, honest gallery photos improve conversion. Better photos, better metrics, higher search placement, more guests book. This is the same compounding flywheel that drives success in rental arbitrage more broadly.
Photography for Multiple Listings
If you manage multiple rental arbitrage properties, develop a standardized photography checklist and workflow. Use the same shot list, the same editing process, and the same gallery ordering strategy for every property. Consistency across your portfolio saves time and ensures every listing meets the same quality bar. Build the system once, replicate it everywhere.
Your Complete Airbnb Photography Checklist
Pre-Shoot Preparation
- ☐ Deep clean entire property, bathrooms, kitchen, floors, windows
- ☐ Remove all personal items, clutter, and cleaning supplies
- ☐ Stage beds with fresh white linens and decorative pillows
- ☐ Set dining table with place settings
- ☐ Add lifestyle touches: fresh flowers, fruit bowl, open book, coffee cup
- ☐ Clear all countertops except 2-3 intentional items
- ☐ Open all window coverings for maximum natural light
- ☐ Turn off all overhead lights
- ☐ Turn on accent lamps (floor lamps, table lamps)
- ☐ Set thermostat to comfortable temperature (condensation on windows ruins photos)
- ☐ Charge phone fully
- ☐ Clean camera lens
- ☐ Check weather forecast (overcast is ideal)
During the Shoot
- ☐ Shoot in landscape (horizontal) orientation only
- ☐ Use HDR mode
- ☐ Start with the hero shot (living room from doorway)
- ☐ Photograph every room from at least 2 angles
- ☐ Capture details: amenities, textures, unique features
- ☐ Shoot outdoor spaces during golden hour
- ☐ Take 3-5 shots of each angle (select the best later)
- ☐ Check each photo on your phone screen before moving on
- ☐ Shoot from chest height (about 4 feet) for most rooms
- ☐ Include neighborhood and exterior shots
Post-Shoot Editing and Upload
- ☐ Select the best 25-35 photos
- ☐ Straighten all horizons
- ☐ Crop to 3:2 aspect ratio
- ☐ Adjust brightness, contrast, and warmth
- ☐ Light sharpening (+10-15%)
- ☐ Upload in strategic order (cover photo first, then room-by-room)
- ☐ Write descriptive captions for every photo
- ☐ Set your strongest image as the cover photo
- ☐ Preview the listing page on both mobile and desktop
- ☐ Schedule seasonal reshoot on your calendar (every 3-6 months)
Frequently Asked Questions
How many photos should my Airbnb listing have?
Aim for 25-35 photos for most properties. Airbnb allows up to 100 photos per listing, but quality matters more than quantity. Studios and 1-bedrooms can get away with 15-20; properties with 4+ bedrooms and extensive outdoor spaces should shoot for 35-50. Cover every room from at least 2 angles, include detail shots, and don’t forget outdoor and neighborhood photos.
Can I use my iPhone or Android phone for listing photos?
Yes. Modern smartphones produce images that exceed Airbnb’s minimum requirements (1024 x 683 pixels) by a wide margin. The key factors are natural light, a tripod for stability, and proper staging. Not the camera itself. A well-composed phone photo in good natural light will outperform a poorly composed DSLR photo every time.
What’s the best time of day to photograph my Airbnb?
The best light for interior photography is 7-9 AM and 3-5 PM, when sunlight is warm and directional. Overcast days are ideal because clouds diffuse light evenly with no harsh shadows. For exterior and outdoor photos, shoot during golden hour (the last hour before sunset) for warm, dramatic lighting. Avoid midday for interiors, the harsh sun creates blown-out windows and dark corners.
Should I hire a professional photographer or do it myself?
Hire a professional if your property generates over $3,000/month, has 3+ bedrooms, or competes in a saturated market where other listings have magazine-quality images. DIY works well for budget-conscious hosts, simple spaces, and seasonal photo updates. A professional photographer charges $150-$500 per session. Given that professional photos can increase revenue by $2,455/year (per the Carnegie Mellon study), the investment typically pays for itself within the first few months.
How often should I update my listing photos?
Update your photos at least every 6-12 months, or whenever you make significant changes to your property (new furniture, renovations, new amenities). If your property has distinct seasons, reshoot exterior and outdoor photos quarterly. Fresh new photos keep your listing feeling current and can re-trigger the Airbnb algorithm’s “new listing boost” behavior, increasing your visibility in search results.
What photo resolution and size does Airbnb require?
Airbnb requires a minimum resolution of 1024 x 683 pixels in a 3:2 aspect ratio. Maximum file size is 30 MB per photo, with supported formats including JPEG, PNG, and BMP. Always upload at the highest resolution your camera produces, Airbnb compresses and resizes automatically. Higher-resolution originals produce sharper results across all display sizes.
How do I make small spaces look bigger in photos?
Three techniques work consistently. First, shoot from the lowest corner of the room looking toward the opposite corner. This maximizes visible floor and wall space. Second, use a wide-angle lens clip ($10-$30) on your smartphone to capture more of the room without distortion. Third, declutter aggressively, empty surfaces and minimal furniture make any space feel larger. Always shoot with natural light from windows, which creates depth that artificial lighting flattens.
What should my Airbnb cover photo show?
Your cover photo should be a bright, wide-angle shot of your most impressive space, typically the living room. Shoot from a corner or doorway to create depth. Include a lifestyle element (set table, open book, wine glasses) so guests can picture themselves there. Make sure it’s well-lit with natural light, uncluttered, and represents the overall feeling of your property. This is the first photo guests see in search results. It determines whether they click into your listing.
Should I include a floor plan in my listing photos?
Yes, especially for properties with 2+ bedrooms or unusual layouts. A floor plan helps guests understand how rooms connect, where bathrooms are relative to bedrooms, and the overall flow of the space. Use a free tool like Floorplanner.com to create one. Place it as the last image in your photo gallery.
Can professional photos make my Airbnb listing stand out in a competitive market?
Absolutely. In saturated markets like Nashville, Austin, Miami, and other top Airbnb cities, professional photography is often the difference between a listing that gets bookings and one that sits empty. Professional photos increase views by over 100%, increase bookings by 24-40%, and allow hosts to charge higher nightly rates. When every other listing in your market has great photos, you can’t afford to compete with phone snapshots taken at midnight.
Now stop reading and go take some photos. Your listing, and your bank account, will thank you.
Related resources to grow your rental business: